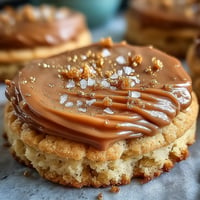
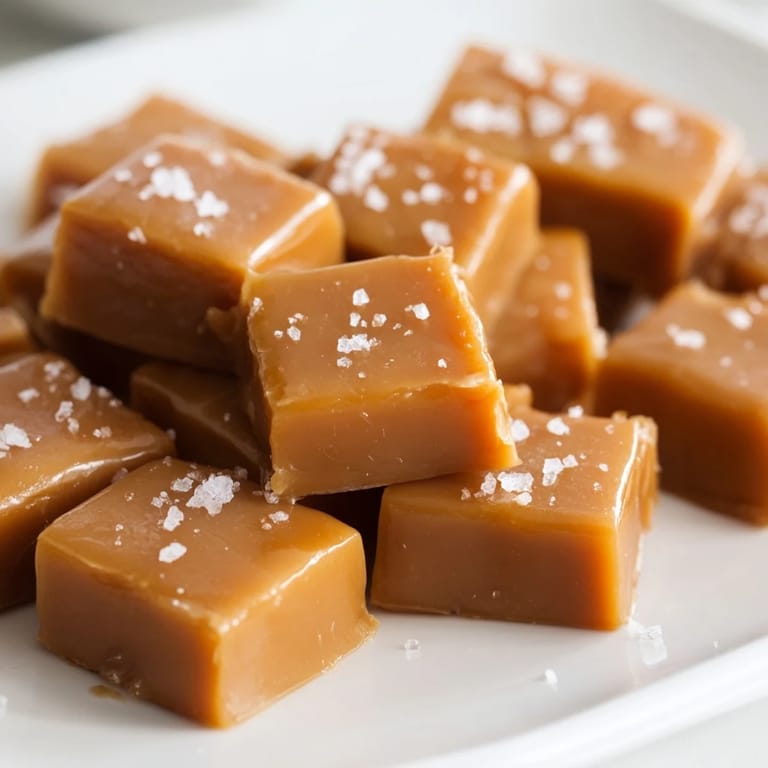
 Save to Pinterest
 The first time I made sea salt caramels, I was standing in my kitchen on a gray afternoon, watching sugar transform from crystal-clear to liquid gold, and I felt like I was witnessing actual magic. My neighbor had left behind a small jar of Maldon salt after a dinner party, and I'd been staring at it for weeks wondering what to do with it. Then one day, it clicked: caramels. The memory that stuck with me wasn't the finished candy, though, but that moment of panic when I poured the hot cream into the caramel and it erupted like a tiny volcano, and how I somehow didn't flinch.
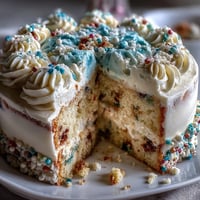
I made these for my sister's birthday last spring, wrapped them in little wax paper squares with twine, and she ate three before I'd even finished explaining how they were made. She said they tasted like a memory, which I think is the highest compliment candy can get. Now every time someone asks me what I'm good at in the kitchen, I say caramels, and I mean it.
Ingredients
- Heavy cream: Use the full-fat kind, never the lite version, because this is where the luxury happens.
- Unsalted butter: Cut it into pieces so it melts evenly and quickly once the pan gets hot.
- Granulated sugar: This is your base, and it needs to reach that precise golden color without burning.
- Light corn syrup: This prevents crystallization and gives you that smooth, glossy texture.
- Water: Just enough to get the sugar started before it becomes liquid gold.
- Pure vanilla extract: The kind that's actually vanilla, not imitation, makes all the difference in the flavor.
- Fine sea salt (for the mixture): This dissolves into the caramel, seasoning every bite from the inside.
- Flaky sea salt (Maldon, for topping): The real star, adding texture and that final salty pop.
Tired of Takeout? 🥡
Get 10 meals you can make faster than delivery arrives. Seriously.
One email. No spam. Unsubscribe anytime.
Instructions
- Prep Your Pan:
- Line your 8x8-inch pan with parchment paper, leaving edges hanging over two sides like handles. Butter that parchment lightly so nothing sticks.
- Warm the Cream and Butter:
- In a small saucepan, combine heavy cream and butter pieces over medium heat. Watch it warm until the butter melts completely and steam rises gently, then set it aside.
- Start the Caramel:
- In a large, heavy-bottomed saucepan, mix sugar, corn syrup, and water together gently. Cook over medium heat without stirring until the sugar dissolves and the mixture looks clear.
- Cook to Light Gold:
- Turn the heat up to medium-high and let it bubble away without stirring. After a few minutes, it'll shift from clear to pale yellow to light golden amber, reaching 320°F on your thermometer.
- The Brave Pour:
- Carefully pour that warm cream mixture into the caramel slowly—it will bubble and hiss like it's angry, but that's normal. Keep stirring constantly and let it cook until it reaches 245°F for soft caramels, or 250°F if you like them chewier.
- Add Flavor:
- Pull the pan off the heat and stir in vanilla extract and fine sea salt, letting the warmth blend everything together.
- Into the Pan:
- Pour the hot caramel immediately into your prepared pan. Let it sit for about 5 minutes, then sprinkle that flaky sea salt evenly across the top.
- Cool and Cut:
- Give it two full hours to cool completely at room temperature—no rushing this part. Once cool, lift the whole thing out using those parchment flaps and cut into 1-inch squares with a sharp knife.
- Wrap and Store:
- Wrap each piece in wax paper or cellophane so they don't stick together, then pack them into an airtight container where they'll keep for up to two weeks.
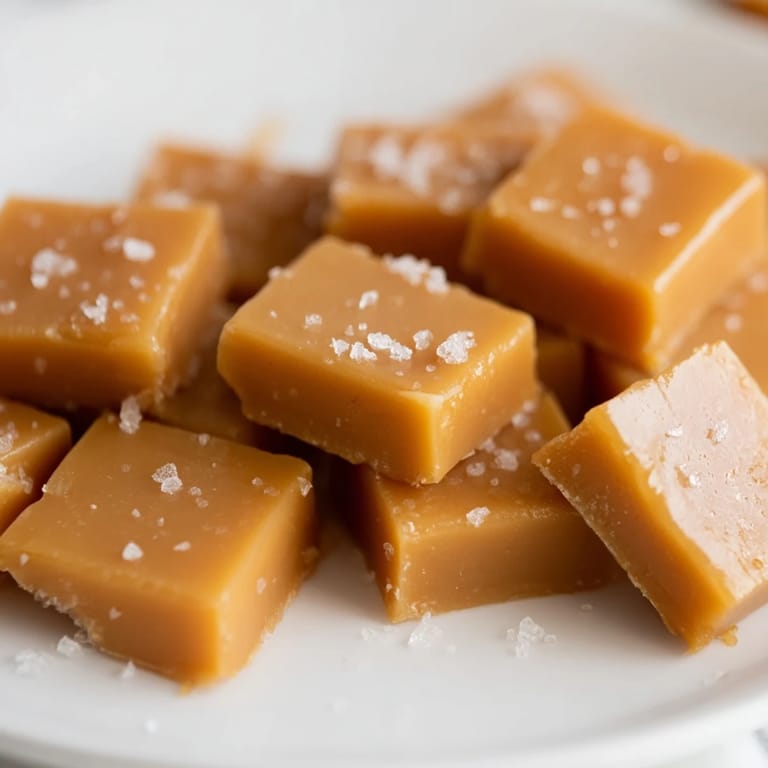
 Save to Pinterest
 There's something deeply satisfying about wrapping those little squares of caramel, knowing that someone's about to experience that exact moment when the salt hits their tongue and everything just clicks into place. It's not fancy or complicated, but it feels like generosity.
The Science of Caramel
Caramel is really just sugar that's been heated past its melting point, transforming into something new through a chemical process called caramelization. When you add cream and butter, you're stopping that process and creating an emulsion that's smooth and rich. The temperature matters because it determines the final texture—too low and you have a gooey mess, too high and you've got hard candy. That 245°F to 250°F window is the sweet spot for that perfect chew.
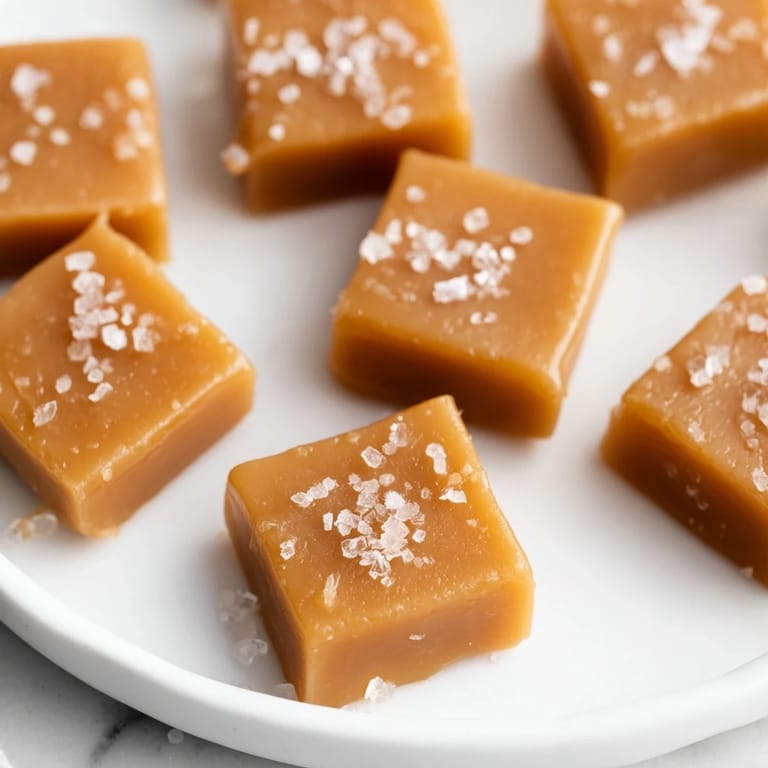
Why Maldon Salt Works Best
Flaky sea salt from Maldon has larger crystals than regular table salt, which means each bite delivers distinct pockets of saltiness rather than an even distribution. The crystals also have a delicate structure that stays textured on top of the caramel instead of dissolving completely, giving you visual appeal and that satisfying crunch. If you can't find Maldon, any good flaky sea salt works, but I've tried it with regular sea salt and it just doesn't have the same magic.
Making These Extra Special
Once you're comfortable with the basic recipe, you can play with it in ways that feel natural and exciting. A half-teaspoon of smoked sea salt adds depth, or a tiny pinch of cayenne pepper creates this unexpected warmth. Some people dip theirs in dark chocolate, which transforms them into something you'd find in a fancy candy shop.
- Try browning the butter before mixing it with the cream for a nutty, toasted flavor that elevates everything.
- Store caramels in individual wax paper wraps in a glass jar, where they stay fresher and look prettier.
- Make a double batch when you're in the zone, because the effort is almost the same and you'll be grateful later.
 Save to Pinterest
 These caramels taught me that making candy isn't actually difficult; it just requires paying attention and trusting the thermometer. Once you understand how they come together, you'll find yourself making them again and again.
Recipe FAQs
- → What makes these caramels soft and buttery?
The combination of heavy cream and unsalted butter, along with cooking the sugar mixture to a precise temperature, creates a smooth, tender texture.
- → How does flaky sea salt affect the flavor?
Sprinkling flaky sea salt on top intensifies the sweetness by adding a delicate salty crunch that balances the caramel's richness.
- → Can I make the caramels firmer or softer?
Adjusting the final cooking temperature slightly changes texture: lower for softer, higher for a firmer bite.
- → What tools do I need for preparation?
You'll need an 8x8-inch pan, parchment paper, saucepans, a candy thermometer, and a sharp knife for cutting.
- → How should I store the finished pieces?
Keep them in an airtight container at room temperature to maintain softness and freshness, lasting up to two weeks.
- → Is browning butter recommended?
Browning the butter before adding it adds a deeper, nutty flavor that enriches the caramel's taste.