 Save to Pinterest
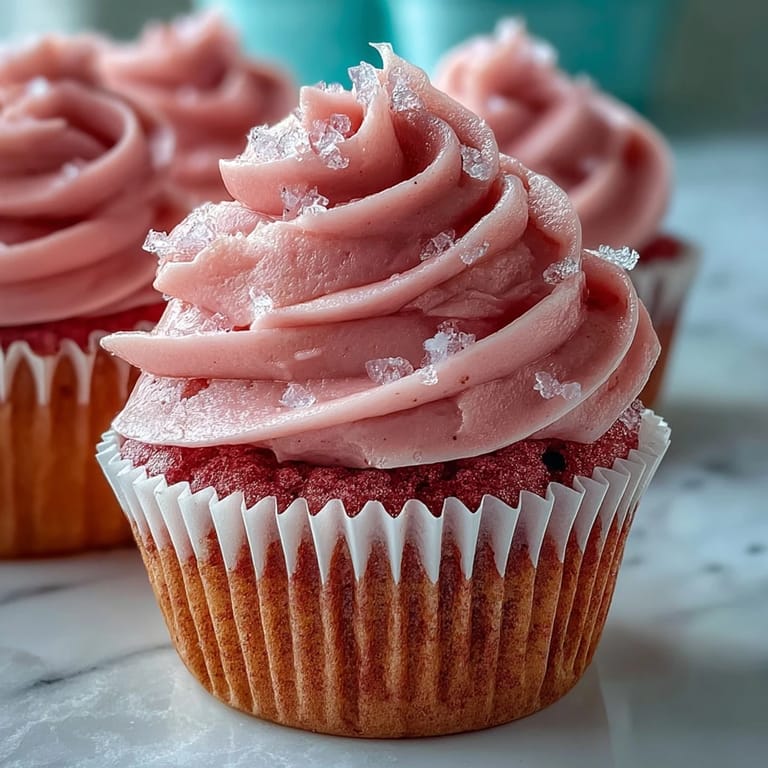
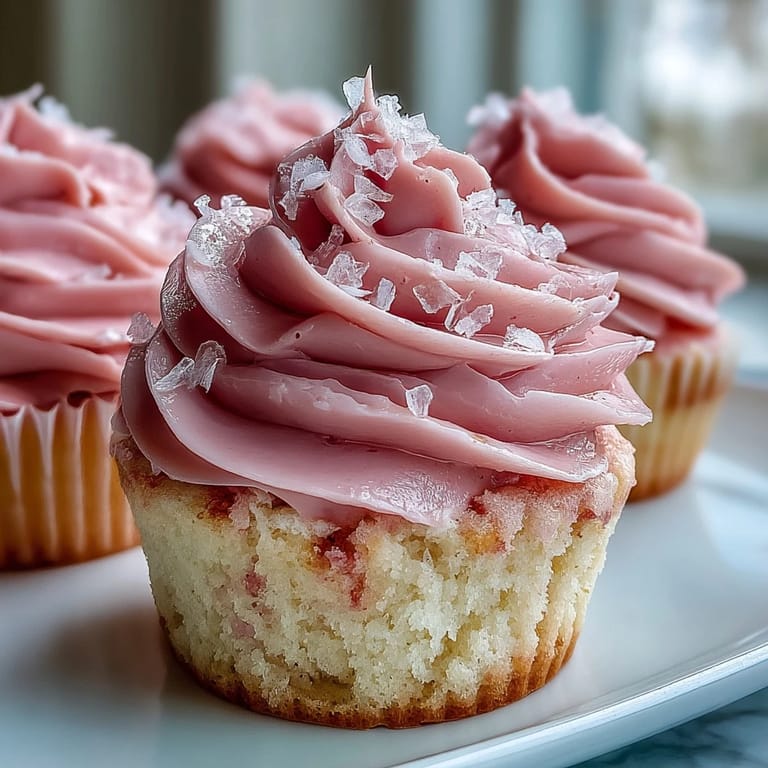
 I pulled a batch of these out of the oven on a rainy Tuesday afternoon, and the kitchen smelled like a bakery had moved in. My daughter peeked around the corner, drawn by the scent of vanilla and butter, and asked if we were celebrating something. We weren't, but by the time we'd frosted them together, it felt like we should have been. There's something about a blush-pink cupcake that turns an ordinary day into a small occasion.
I once brought a dozen of these to a friend's baby shower, and they disappeared before the games even started. One guest asked if I'd ordered them from a fancy bakery, and I had to bite back a grin. The secret isn't complicated techniques or rare ingredients. It's just patience, room-temperature butter, and not overthinking the swirl on top.
Ingredients
- Cake flour: This gives the cupcakes their cloud-like texture; if you don't have it, the all-purpose and cornstarch swap works beautifully.
- Baking powder and baking soda: The combination creates lift and a tender crumb, especially when paired with the acidity from buttermilk and vinegar.
- Unsalted butter: Room temperature is non-negotiable here; cold butter won't cream properly and warm butter will make the batter greasy.
- Granulated sugar: Creaming it with butter traps air, which is what makes these cupcakes so light.
- Egg: One large egg binds everything together without weighing down the batter.
- Buttermilk: The slight tang balances the sweetness and reacts with the leavening agents to create that perfect rise.
- Pure vanilla extract: Use the real stuff; imitation vanilla tastes thin and artificial next to it.
- White vinegar: Just a teaspoon activates the baking soda and enhances the pink color from the food coloring.
- Pink gel food coloring: Gel is more concentrated than liquid, so you get vibrant color without thinning the batter.
- Powdered sugar: Sifting it prevents lumps in the frosting and keeps the texture smooth.
- Heavy cream: A splash makes the buttercream pipeable and luxurious without turning it runny.
Tired of Takeout? 🥡
Get 10 meals you can make faster than delivery arrives. Seriously.
One email. No spam. Unsubscribe anytime.
Instructions
- Get the oven ready:
- Preheat to 350°F and line your muffin tin with paper liners so the cupcakes release easily. This step seems obvious, but I've forgotten it more than once and regretted it every time.
- Combine the dry ingredients:
- Sift the flour, baking powder, baking soda, and salt into a bowl, then whisk them together. Sifting might feel fussy, but it prevents clumps and helps the cupcakes rise evenly.
- Cream the butter and sugar:
- Beat the butter alone first until it's smooth, then add sugar gradually and keep beating for 2 to 3 minutes. The mixture should look pale and fluffy, like whipped clouds.
- Add the egg and vanilla:
- Pour in the lightly beaten egg slowly with the mixer on low, then blend in the vanilla. Rushing this step can cause the mixture to curdle, so take your time.
- Alternate dry and wet ingredients:
- Add a third of the dry mix, then half the buttermilk, then another third of dry, the rest of the buttermilk, and finish with the last of the dry ingredients. Scrape the bowl between additions and mix just until combined; overmixing leads to dense cupcakes.
- Tint the batter:
- Stir the vinegar and pink gel coloring together in a small cup, then pour it into the batter and mix on low until the color is even. The vinegar smell will fade completely in the oven.
- Fill the liners:
- Divide the batter evenly among the 12 liners, filling each about two-thirds full, then tap the pan gently on the counter to pop any air bubbles. This prevents surprise craters on top.
- Bake:
- Slide the pan into the oven and bake for 18 to 22 minutes, checking with a toothpick at the 18-minute mark. When it comes out clean or with a few moist crumbs, they're done.
- Cool completely:
- Let the cupcakes rest in the pan for 5 minutes to set, then move them to a wire rack. Frosting warm cupcakes will melt the buttercream into a puddle.
- Make the buttercream:
- Beat the room-temperature butter until creamy, then add powdered sugar gradually on low speed. Once it's incorporated, increase to medium and beat for 2 minutes, then add vanilla, cream, and salt and beat on medium-high until fluffy.
- Frost and decorate:
- Pipe or spread the buttercream onto each cooled cupcake, then finish with sprinkles or sanding sugar if you're feeling festive. The frosting firms up nicely at room temperature, so they're easy to transport.
 Save to Pinterest
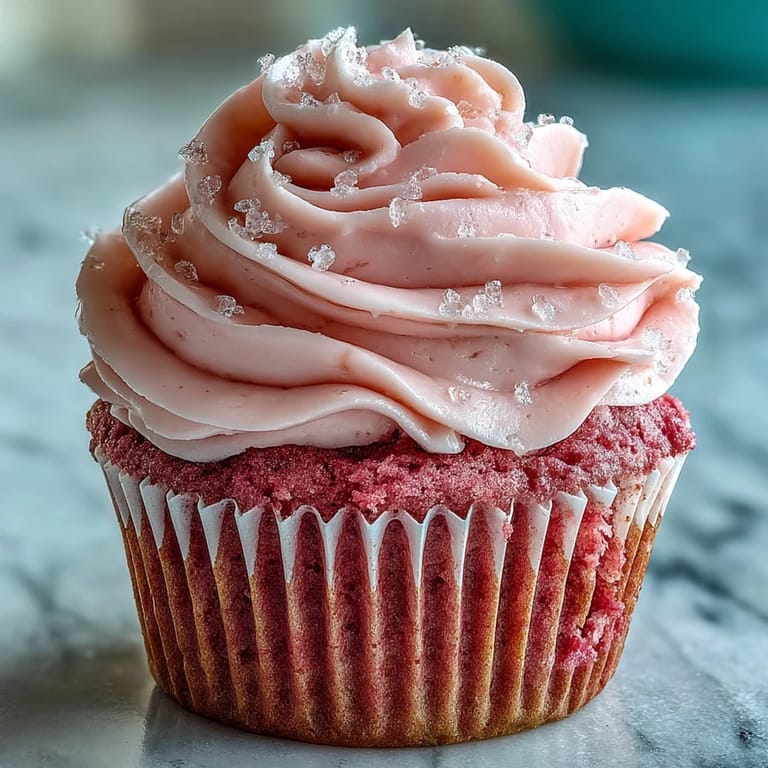
 The first time I served these at a birthday dinner, my friend's four-year-old picked off all the frosting first, then ate the cupcake in tiny bites like it was something precious. Her mom laughed and said she'd never seen her take that long to finish a dessert. It reminded me that sometimes the best recipes are the ones that make people slow down and pay attention to what they're eating.
Storage and Make-Ahead Tips
Frosted cupcakes keep at cool room temperature in an airtight container for up to two days, but they're honestly best the day they're made. If you need to prep ahead, bake and cool the cupcakes, then wrap them tightly in plastic wrap and store at room temperature for a day or freeze for up to a month. Frost them just before serving so the buttercream stays fresh and fluffy. The frosting itself can be made a day ahead and refrigerated, then brought to room temperature and re-whipped before piping.
Variations and Swaps
If you're out of buttermilk, stir a teaspoon of lemon juice or white vinegar into regular milk and let it sit for five minutes. For a deeper pink, add an extra quarter teaspoon of gel coloring, or swap it entirely for a teaspoon of beet powder if you want a natural option. I've also swapped two tablespoons of the buttermilk for sour cream when I wanted an even richer crumb, and it worked beautifully. If you're making mini cupcakes, fill the liners halfway and check them at 10 minutes.
Decorating Ideas
A simple swirl of buttercream is lovely on its own, but a sprinkle of pink sanding sugar or a few edible pearls turns them into something party-ready. I like using a large open star tip for frosting because it creates dramatic ridges without much effort. For a two-tone effect, divide the buttercream in half, tint one portion a deeper pink, and load both into the same piping bag side by side.
- Use a small offset spatula for a smooth, bakery-style finish if piping feels intimidating.
- Top each cupcake with a fresh raspberry or a tiny edible flower for an elegant touch.
- Dust the finished cupcakes lightly with powdered sugar for a soft, vintage look.
 Save to Pinterest
 These cupcakes have a way of turning a quiet afternoon into something worth remembering, whether you're frosting them alone or with someone who licks the spatula when you're not looking. They're proof that a little butter, sugar, and patience can make ordinary moments feel like celebrations.
Recipe FAQs
- → What makes these cupcakes pink?
Pink gel food coloring creates the signature blush hue. For a natural alternative, substitute with beet powder. The color is stirred into the batter along with white vinegar, which also enhances tenderness.
- → Can I make these cupcakes ahead of time?
Yes, unfrosted cupcakes can be stored in an airtight container at room temperature for up to 2 days or frozen for up to 3 months. Frost fresh before serving for the best texture and appearance.
- → What's the difference between red velvet and pink velvet?
Pink velvet typically omits cocoa powder found in traditional red velvet, resulting in a lighter vanilla-forward flavor profile. The pink color comes from food coloring rather than the reaction between cocoa and buttermilk.
- → How do I get perfect buttercream swirls?
Ensure cupcakes are completely cooled before frosting. Use room-temperature butter and cream for smooth consistency. Transfer frosting to a piping bag fitted with a large star tip, hold at a 90-degree angle, and apply even pressure while swirling from the outside inward.
- → Can I use natural food coloring?
Yes, beet powder or raspberry juice create a natural pink tint. Start with 1 teaspoon of beet powder and adjust until desired color is achieved. Natural colorings may produce a softer, more muted hue than gel varieties.
- → Why is room-temperature butter important?
Room-temperature butter (65-68°F) creates proper aeration when creamed with sugar, resulting in tender cupcakes and smooth frosting. Cold butter won't incorporate properly, while melted butter changes the crumb structure entirely.