 Save to Pinterest
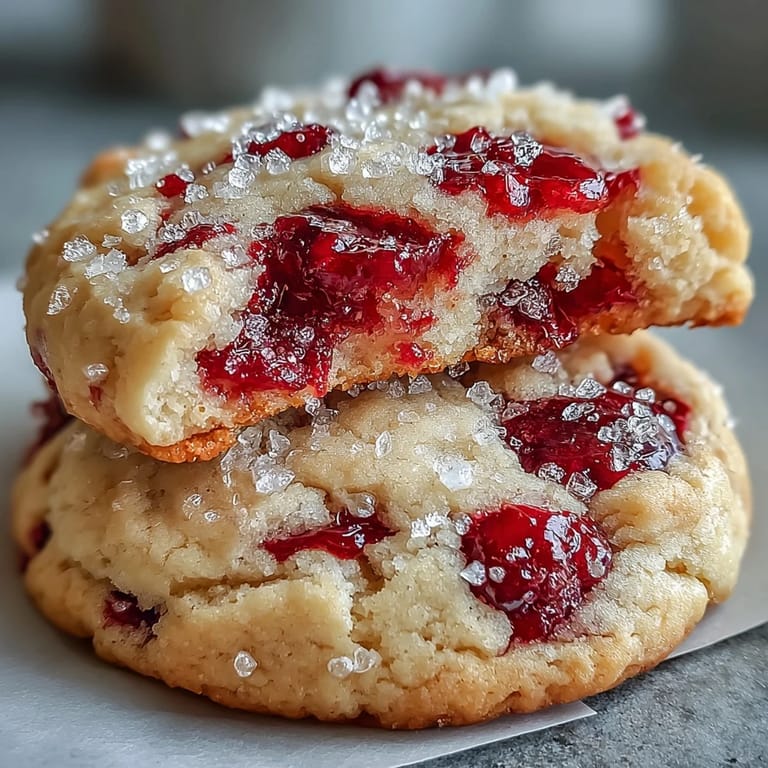
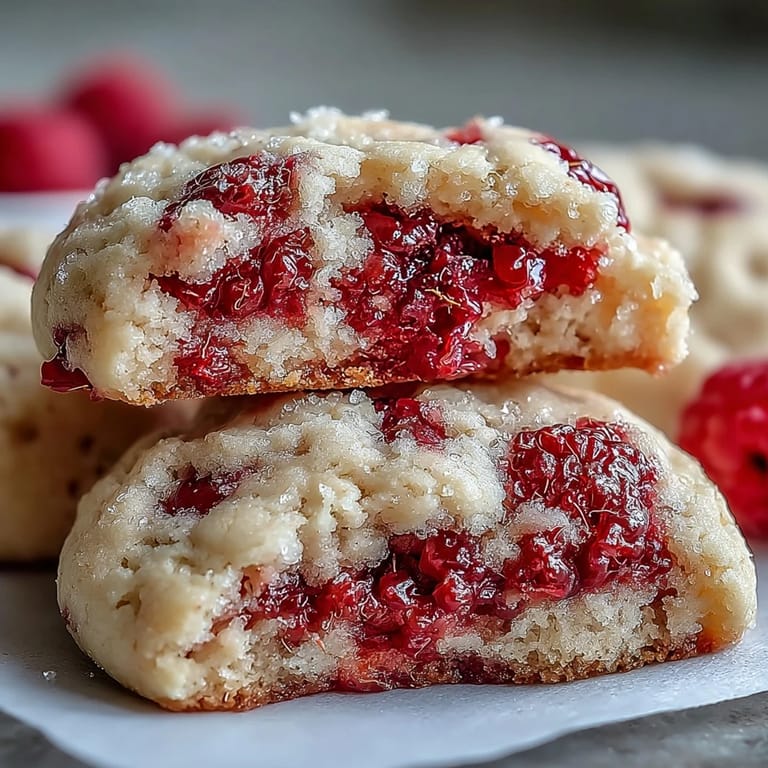
 The kitchen smelled like butter and berries the morning I decided to experiment with fresh raspberries in cookie dough. I had a carton of them sitting in the fridge, too ripe to ignore, and I thought: why not tuck them straight into sugar cookies? The first batch came out tender, chewy, and dotted with jammy pockets of fruit. I ate three standing at the counter, still warm, and knew I'd stumbled onto something worth repeating.
I brought a tin of these to a picnic last spring, and they disappeared faster than anything else on the table. People kept asking if I'd used jam or preserves, surprised when I told them it was just fresh berries folded in at the last minute. One friend said they tasted like summer in cookie form, which felt exactly right. Since then, I make them whenever raspberries go on sale or when I need something that feels special without being complicated.
Ingredients
- Unsalted butter, softened: The base of the dough, it needs to be truly soft so it whips up light and fluffy with the sugars.
- Granulated sugar and light brown sugar: Using both gives you sweetness plus a hint of caramel depth and extra chewiness.
- Eggs, room temperature: Cold eggs can seize up the butter, so let them sit out for 20 minutes before mixing.
- Vanilla extract: A good vanilla brings warmth and rounds out the berry flavor beautifully.
- All purpose flour: The structure of the cookie, measured correctly by spooning it into the cup and leveling off.
- Cornstarch: This is the secret to that soft, tender crumb that makes these cookies melt in your mouth.
- Baking powder and baking soda: Together they give just enough lift without puffing the cookies up too much.
- Salt: Balances the sweetness and makes every other flavor pop.
- Fresh raspberries: Gently washed and dried so they don't add too much moisture, they create jammy pockets as they bake.
- Crushed freeze dried raspberries: Optional but magical, they add color and concentrated berry flavor to the coating without any extra liquid.
Tired of Takeout? 🥡
Get 10 meals you can make faster than delivery arrives. Seriously.
One email. No spam. Unsubscribe anytime.
Instructions
- Prep Your Oven and Pans:
- Set your oven to 350°F and line two baking sheets with parchment or silicone mats. This keeps the bottoms from browning too fast and makes cleanup a breeze.
- Mix the Dry Ingredients:
- Whisk together flour, cornstarch, baking powder, baking soda, and salt in a medium bowl. This ensures even distribution so every cookie bakes the same.
- Cream the Butter and Sugars:
- Beat softened butter with both sugars on medium speed for 3 to 4 minutes until the mixture looks pale and fluffy. This step adds air and creates that chewy texture.
- Add Eggs and Vanilla:
- Turn the mixer to low and add eggs one at a time, scraping the bowl after each addition. Mix in the vanilla until everything is smooth and combined.
- Incorporate the Flour:
- Gradually add the dry mixture on low speed, mixing just until no streaks remain. Overmixing here can make the cookies tough instead of tender.
- Fold in the Raspberries:
- Use a spatula to gently fold in the fresh raspberries by hand. Some will break and that's okay, it creates pretty pink streaks through the dough.
- Prepare the Coating:
- Stir together granulated sugar and crushed freeze dried raspberries in a small bowl. The pink sugar makes each cookie look like a little jewel.
- Shape and Coat the Dough:
- Scoop dough with a 1.5 tablespoon scoop, roll into smooth balls, then roll each one in the raspberry sugar. Place them on your prepared sheets about 2 inches apart.
- Bake Until Just Set:
- Bake for 10 to 12 minutes, watching for edges that look set while centers still seem slightly soft. They'll firm up as they cool.
- Cool on the Pan:
- Let cookies rest on the baking sheet for 5 minutes before moving them to a wire rack. This helps them hold together and finish cooking through from residual heat.
 Save to Pinterest
  Save to Pinterest
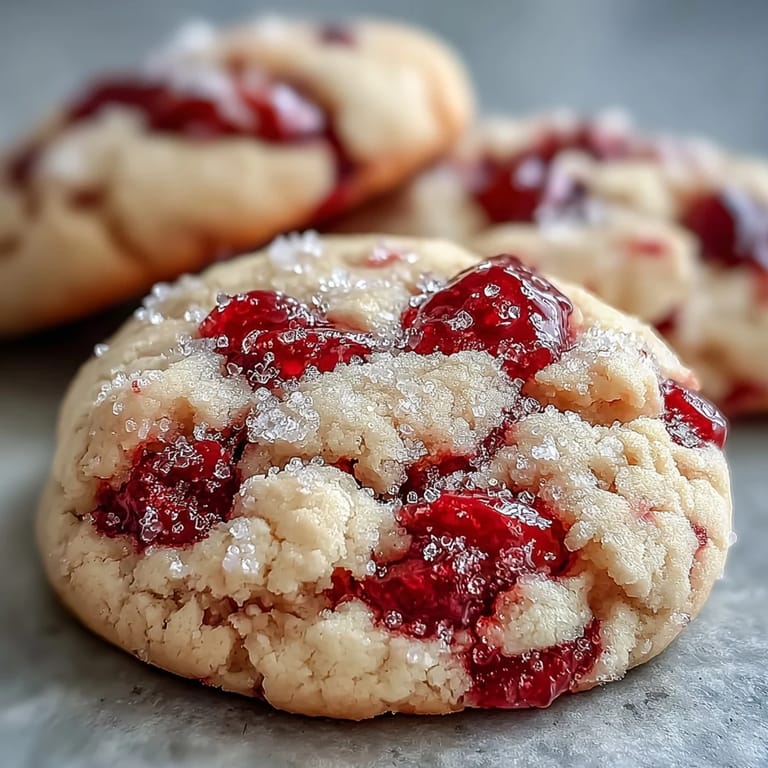
 There's something about pulling a tray of these from the oven, the raspberries bubbling slightly at the edges, the sugar coating shimmering under the kitchen light. My daughter likes to sneak one while they're still warm, and I pretend not to notice. It's become one of those recipes that feels like a small celebration every time I make it.
Getting the Texture Just Right
The key to that perfect soft chew is not overbaking. The centers should look a little underdone when you pull them out, almost like they need another minute. Trust the process and let them finish on the pan. If you wait until they look fully baked in the oven, they'll turn out crumbly instead of pillowy. I learned this the hard way after a batch came out too crisp, and now I set a timer and pull them early every single time.
Storing and Freezing
These cookies stay soft in an airtight container at room temperature for up to four days, though I've never had a batch last that long. If you want to freeze them, let them cool completely, then layer them between parchment in a freezer safe container. They'll keep for up to three months and thaw beautifully at room temperature in about 20 minutes. You can also freeze the dough balls before baking and bake them straight from frozen, adding an extra minute or two to the bake time.
Customizing Your Cookies
If fresh raspberries aren't available or you want a more concentrated flavor, you can swap in three quarters cup of crushed freeze dried raspberries mixed directly into the dough. For an extra surprise, press a tiny spoonful of raspberry jam into the center of each dough ball before rolling it in sugar. I've also tried adding a handful of white chocolate chips, which plays nicely with the tartness of the berries.
- Use lemon zest in the dough for a brighter, more citrusy note.
- Substitute blackberries or blueberries if that's what you have on hand.
- Double the batch and freeze half the dough for impromptu baking later.
 Save to Pinterest
  Save to Pinterest
 These cookies have a way of making an ordinary afternoon feel a little brighter. I hope they become a favorite in your kitchen too.
Recipe FAQs
- → Can I use frozen raspberries instead of fresh?
Frozen raspberries can be used, but thaw and drain them thoroughly before folding into the dough. Excess moisture may affect the cookie texture. Pat them dry with paper towels to remove as much liquid as possible.
- → Why is chilling the dough recommended?
Chilling the dough for 30 minutes helps cookies maintain their shape during baking and enhances flavor development. It also prevents excessive spreading, ensuring thicker, chewier results.
- → How should I store these cookies?
Store in an airtight container at room temperature for up to 4 days. For longer storage, freeze unbaked dough balls or baked cookies for up to 3 months. Thaw frozen dough overnight in the refrigerator before baking.
- → What makes these cookies chewy?
The combination of brown sugar, cornstarch, and proper baking time creates the chewy texture. Removing cookies when centers look slightly underbaked ensures they remain soft and tender after cooling.
- → Can I make these gluten-free?
As written, these contain wheat flour. To make gluten-free, substitute with a 1:1 gluten-free flour blend containing xanthan gum. Results may vary slightly in texture and appearance.