 Save to Pinterest
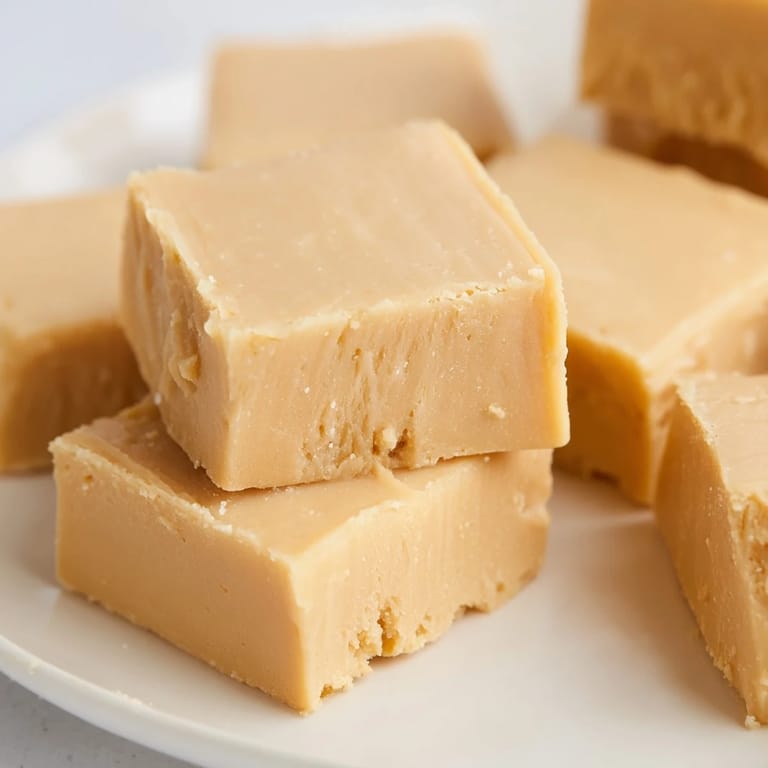
 There's something almost magical about the moment when butter and peanut butter meet in a warm saucepan and transform into liquid silk. I discovered this fudge on a rainy afternoon when I was hunting through my pantry for something quick to make, and what started as idle curiosity became an obsession. The beauty of it is deceptive—just a handful of ingredients, but somehow they create something so rich and indulgent that a single piece feels like a small luxury. My kitchen filled with the toasty aroma of peanut butter, and I knew immediately this would become a regular visitor to my counter.
I made this for a potluck once without telling anyone what it was, and watching people's faces when they bit into that smooth, peanutty bite was worth every moment. One guest actually closed her eyes, and another immediately asked if I was selling it. That's when I realized this wasn't just candy—it was the kind of thing that makes people feel cared for, that tastes like someone spent real time thinking about their happiness.
Ingredients
- Unsalted butter (1 cup, 225 g): Quality matters here since it's one of just a few players—use something you'd actually eat on toast.
- Creamy peanut butter (1 cup, 250 g): Smooth is the way to go for that melt-in-your-mouth texture; skip chunky unless you're into surprises.
- Pure vanilla extract (1 teaspoon): This small addition rounds out the flavor and keeps the peanut butter from tasting one-note.
- Confectioners sugar (3½ cups, 420 g): Sift it—I learned this the hard way when I skipped this step and ended up with tiny lumps throughout.
Tired of Takeout? 🥡
Get 10 meals you can make faster than delivery arrives. Seriously.
One email. No spam. Unsubscribe anytime.
Instructions
- Set Up Your Stage:
- Line your 8x8-inch pan with parchment paper, letting it overhang the sides so you can lift the whole thing out later without wrestling with it.
- Marry the Fats:
- Combine butter and peanut butter in a medium saucepan over medium heat, stirring constantly for about 3 to 4 minutes until the two are completely melted and smooth together. You'll know it's right when there are no visible streaks.
- Add the Warmth:
- Pull the pan off the heat and stir in your vanilla extract—the steam rising up will smell incredible.
- Sweeten Gradually:
- Add the sifted confectioners sugar a bit at a time, stirring vigorously each time to avoid lumps. This takes a minute or two, but it's worth the patience—you're aiming for a texture that's smooth and thick, like cookie dough.
- Pour and Smooth:
- Spread the mixture into your prepared pan and use a spatula to even out the top. Don't worry about perfection; rustic looks good here.
- The Hard Part—Wait:
- Refrigerate for at least an hour until the fudge is firm enough to cut cleanly. I usually go longer because I like it very cold.
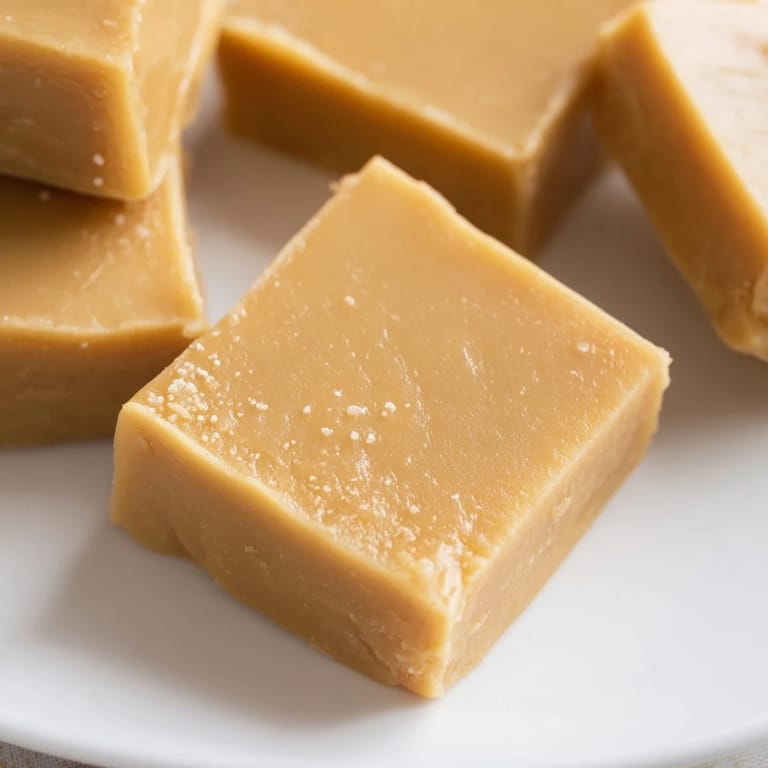
- Cut and Serve:
- Use the parchment overhang to lift the whole block out, then cut into 36 squares with a sharp knife. It's best eaten cold or at room temperature, and each piece is perfectly bite-sized.
 Save to Pinterest
 I gave a batch of this to a neighbor once who was going through a rough time, and she later told me she'd ration it out piece by piece because it made her feel cared for. That's when food stops being food and becomes something more—a small gesture that says someone was thinking of you.
Playing with Flavor
The base recipe is perfect as-is, but your kitchen is your canvas. I've folded in roasted salted peanuts for crunch, swirled in melted chocolate right before chilling, and even tried almond butter when I was feeling adventurous. Each change subtly shifts the flavor profile, so play around and find what makes your mouth happy.
Storage and Keeping
This fudge is forgiving and friendly about storage. It keeps beautifully in the fridge in an airtight container for a week, and freezes wonderfully for up to two months if you want to get ahead. I like to freeze mine in layers with parchment between them, so I can grab a piece or two without thawing the whole batch.
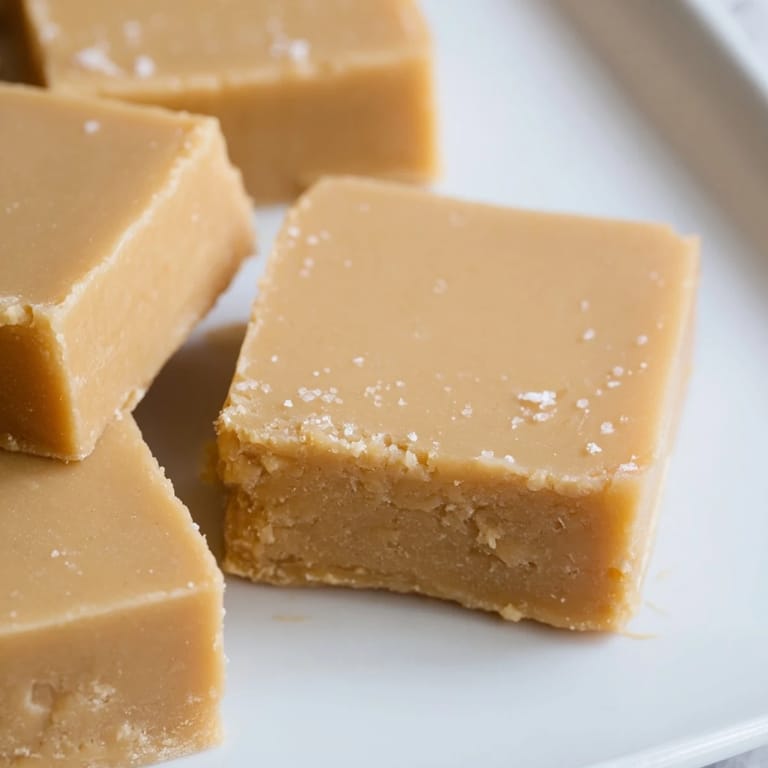
Why This Recipe Wins
It's the kind of recipe that makes you feel like a baker without requiring actual baking skills. The minimal ingredients mean nothing gets hidden or lost—everything you taste is intentional and pure. Best of all, it's affordable enough to make for yourself, flexible enough to customize, and impressive enough to give as a gift.
- Start with quality butter and peanut butter—they're the stars, so let them shine.
- Don't rush the refrigeration time, even if you're eager to taste it.
- Cut with a hot, dry knife for the cleanest edges.
 Save to Pinterest
 Make this when you want to feel like you've done something special without the stress. One bite and you'll understand why it keeps finding its way into people's hearts.
Recipe FAQs
- → How long should the fudge be chilled?
Chill for at least 1 hour until firm to achieve the perfect texture for slicing and serving.
- → Can I add nuts for extra texture?
Yes, folding in ½ cup of roasted salted peanuts before chilling adds a delightful crunch.
- → Is there an alternative to peanut butter?
Almond butter can be used to create a different flavor profile while keeping the creamy consistency.
- → How can I make chocolate peanut butter fudge?
Swirl in ½ cup of melted semi-sweet chocolate before chilling to create a chocolate variation.
- → What tools are essential for preparing this sweet?
A medium saucepan, mixing spoon or spatula, 8x8-inch pan lined with parchment, and a sifter for sugar are key.
- → How long does this treat keep when stored properly?
Refrigerate in an airtight container for up to 1 week or freeze for up to 2 months to maintain freshness.