 Save to Pinterest
 My neighbor showed up one afternoon with a warm pan wrapped in foil, and when I peeled it back, the smell hit me before I even saw them: buttery, sweet, with that unmistakable crackle-snap texture. She said she'd made too many for her kids' bake sale and thought I'd appreciate the extras. I did. That batch didn't last the evening, and by the next weekend, I was standing in my own kitchen with a pot of melting marshmallows, determined to recreate that same chewy magic.
I brought a batch to a potluck once, tucked between casseroles and salads, and they vanished before the main course was served. A friend admitted she ate three while standing in the kitchen, pretending to help clean up. That's the thing about these treats: they don't wait for the right moment. They create it.
Ingredients
- Puffed rice cereal: The classic brand works perfectly, but any puffed rice will do; just make sure it's fresh and crisp, not stale from the back of the pantry.
- Mini marshmallows: They melt faster and more evenly than the large ones, giving you that smooth, stretchy bind without any lumps.
- Unsalted butter: It adds richness and helps the marshmallows melt without burning; I learned the hard way that salted butter can make them taste oddly savory.
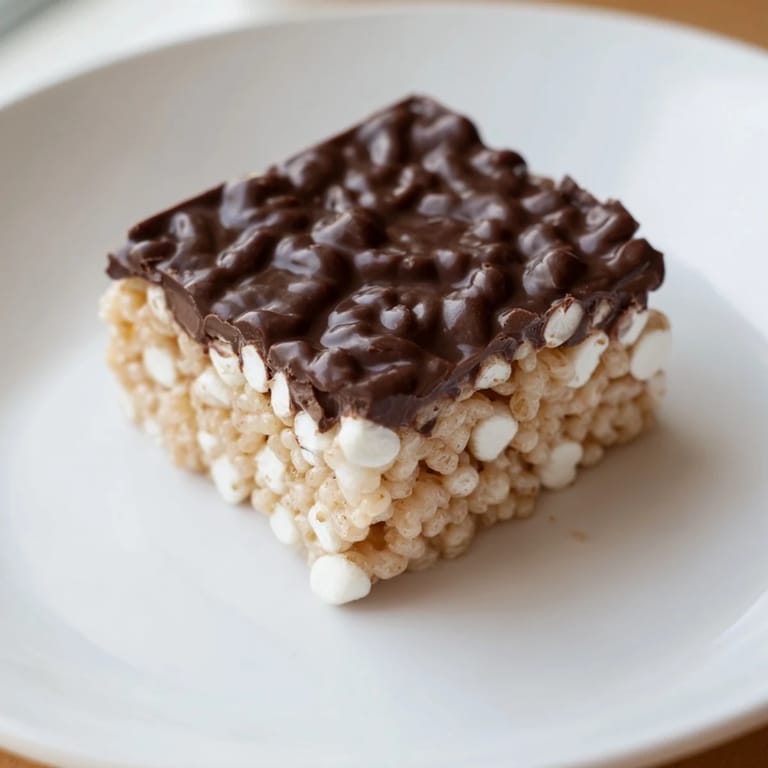
- Semi-sweet chocolate chips: Totally optional, but melting them over the top turns a simple treat into something that feels a little more special, almost like a candy bar.
Tired of Takeout? 🥡
Get 10 meals you can make faster than delivery arrives. Seriously.
One email. No spam. Unsubscribe anytime.
Instructions
- Prep your pan:
- Line a 9x13-inch pan with parchment paper or give it a light coat of butter so the mixture doesn't stick. Trust me, this step saves you from scraping later.
- Melt the butter and marshmallows:
- In a large saucepan over low heat, melt the butter first, then add the marshmallows and stir constantly until they're completely smooth and glossy. Keep the heat low or they'll scorch and taste burnt.
- Fold in the cereal:
- Remove the pan from the heat and immediately add the puffed rice cereal, folding gently with a spatula until every piece is coated. Work quickly because the mixture starts to set as it cools.
- Press into the pan:
- Transfer the mixture to your prepared pan and press it down evenly using a buttered spatula or a piece of wax paper. Don't press too hard or they'll turn out dense instead of chewy.
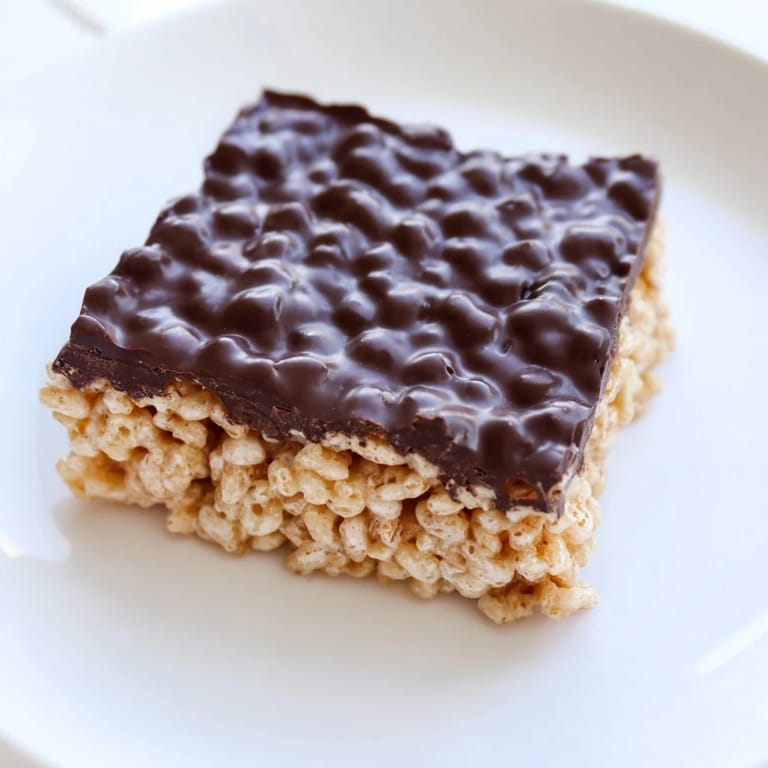
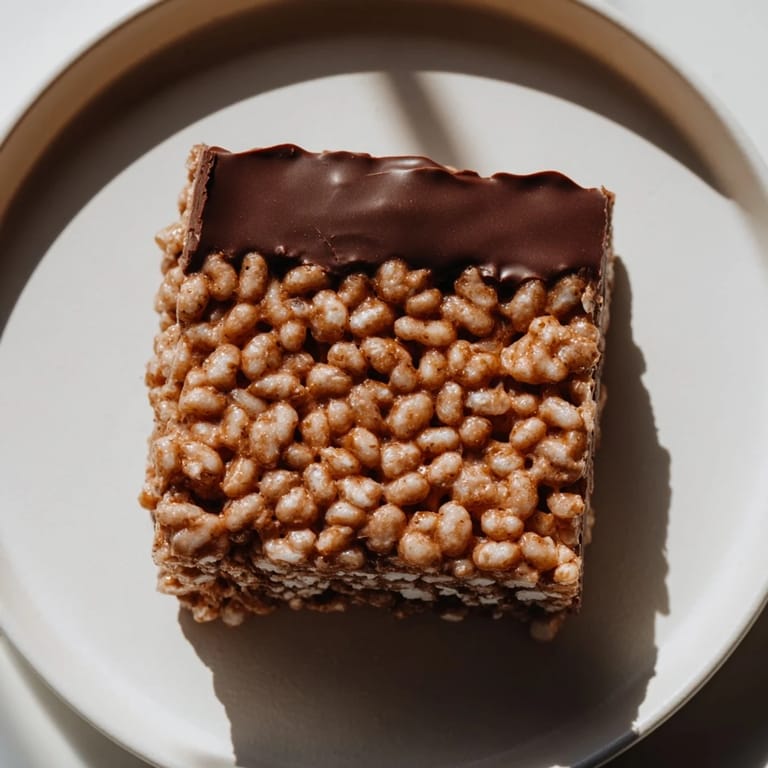
- Add the chocolate (if you want):
- Melt the chocolate chips in a microwave-safe bowl in 30-second bursts, stirring between each, then spread it over the top. It sets up shiny and smooth, like a little bonus layer.
- Let them cool and cut:
- Let the pan sit at room temperature for at least 30 minutes until everything firms up. Then cut into 16 squares and try not to eat half of them before anyone else gets a chance.
 Save to Pinterest
 One rainy Saturday, my daughter and I made a double batch and packed them into little bags tied with ribbon. We left them on doorsteps around the neighborhood, and by Monday, my phone was full of messages asking for the recipe. It wasn't the recipe they wanted, though. It was the feeling that came with it.
Flavor Variations
After you've made the classic version a few times, it's fun to switch things up. I've stirred in a half teaspoon of vanilla extract right after melting the marshmallows, and it adds a subtle warmth that makes people ask what's different. You can also swirl in peanut butter chips or butterscotch chips along with the chocolate topping, or skip the chocolate entirely and drizzle melted white chocolate over the top with a fork for a marbled look.
Storage and Freshness
These treats stay soft and chewy for about three days if you keep them in an airtight container at room temperature. I've tried refrigerating them, but they get too firm and lose that perfect texture. If you want to make them ahead, they freeze beautifully; just wrap individual squares in plastic wrap and tuck them into a freezer bag. They thaw in minutes on the counter.
Common Questions
People always ask if they can use regular-sized marshmallows instead of mini ones, and the answer is yes, but you'll need to stir longer to get them fully melted. Another common question is whether you can make them vegan, and you absolutely can by swapping in plant-based butter and marshmallows made without gelatin.
- If your mixture is too sticky to work with, let it cool for a minute or two before pressing it into the pan.
- For a fun twist, press M&Ms or sprinkles into the top before the mixture sets completely.
- Don't skip the parchment paper unless you really love scrubbing pans; it makes cleanup almost instant.
 Save to Pinterest
 Every time I make these, someone in the house wanders into the kitchen and asks if they can have just one. It's never just one. That's the beauty of something this simple: it doesn't need to be fancy to be perfect.
Recipe FAQs
- → What cereal is best for chewy squares?
Puffed rice cereal with a light, crispy texture works best to provide the signature crunch and maintain chewiness.
- → Can chocolate be added to the topping?
Yes, semi-sweet chocolate chips can be melted and spread over the top for a rich, indulgent finish.
- → How do I prevent squares from sticking to the pan?
Line the baking pan with parchment paper or lightly grease it before pressing the mixture to ensure easy removal after setting.
- → Is there a way to make these squares vegan?
Use vegan marshmallows and plant-based butter substitutes to achieve a vegan-friendly version without compromising texture.
- → How long should the squares cool before cutting?
Allow the squares to set at room temperature for at least 30 minutes to firm up for clean, neat cuts.