 Save to Pinterest
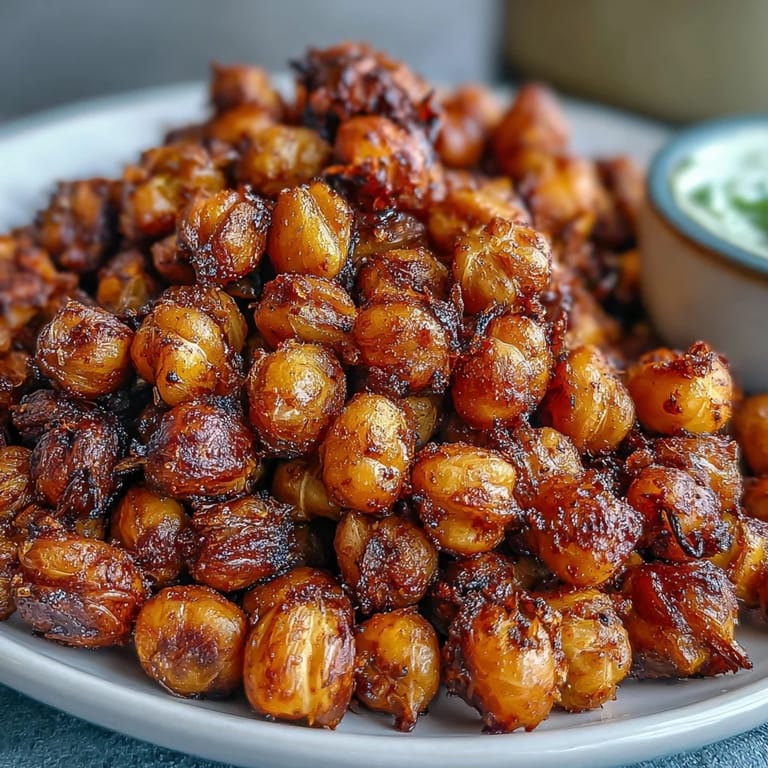
 One afternoon, I'd burned through my usual snack stash and found myself staring at a lonely can of chickpeas in the pantry. Instead of tossing it, I decided to roast them with whatever spices were within arm's reach. Twenty minutes later, my kitchen smelled incredible, and I'd stumbled onto something dangerously addictive—crispy, crunchy chickpeas that disappeared faster than I could portion them out. Now I can't help but make a batch every few weeks, partly for the snack itself, but mostly for that toasted, savory aroma that fills the whole apartment.
I brought a batch to a friend's house for game night, tucked in a little paper bag like it was something special. Within thirty minutes, the bag was empty and she was asking for the recipe before I'd even sat down. What struck me most was how something so unglamorous—basically just legumes and heat—became the thing people reached for instead of the fancy cheese board. That's when I realized this snack works because it's honest and satisfying in a way that feels almost rare these days.
Ingredients
- Chickpeas: One drained can is your starting point, though taking an extra minute to pat them completely dry makes an enormous difference in how crispy they become.
- Olive oil: Just enough to coat and help the spices stick; this isn't about making them greasy, it's about building flavor.
- Smoked paprika: The star that gives everything that warm, slightly charred taste even though nothing is burned.
- Ground cumin: This adds an earthy undertone that keeps the snack from feeling one-note.
- Garlic powder: A small amount goes far here; it builds that savory depth without overpowering.
- Cayenne pepper: Optional but worth a pinch if you like a slow burn that builds as you eat.
- Sea salt and black pepper: The finishing touches that bring everything into focus.
Tired of Takeout? 🥡
Get 10 meals you can make faster than delivery arrives. Seriously.
One email. No spam. Unsubscribe anytime.
Instructions
- Set your oven and prepare:
- Preheat to 400°F and line your baking sheet with parchment—this prevents sticking and makes cleanup painless. A hot oven is essential; anything cooler will steam them rather than crisp them.
- Dry your chickpeas thoroughly:
- This step feels tedious but it's genuinely the difference between crispy and chewy. Use paper towels and don't rush; you're removing surface moisture that prevents browning.
- First roast without seasoning:
- Spread them in a single layer and let them roast for twenty minutes, shaking the pan halfway through so they brown evenly. You'll start smelling them getting toasty after about fifteen minutes.
- Add your spice coating:
- Remove from the oven, drizzle with olive oil, then sprinkle all your seasonings over top. Toss everything together until every chickpea is coated in that golden spice mixture.
- Final roast and cool down:
- Back into the oven for another twelve to fifteen minutes until they're deeply golden and you can hear them rattling around when you shake the pan. Let them cool for at least ten minutes on the baking sheet; they crisp up even more as they cool down.
 Save to Pinterest
 There's something deeply satisfying about watching a humble can of chickpeas transform into something you'd actually pay money for at a specialty snack shop. My roommate started requesting them specifically, and somewhere along the way, it stopped being about the snack and became about knowing I could make something delicious out of almost nothing.
Flavor Combinations to Try
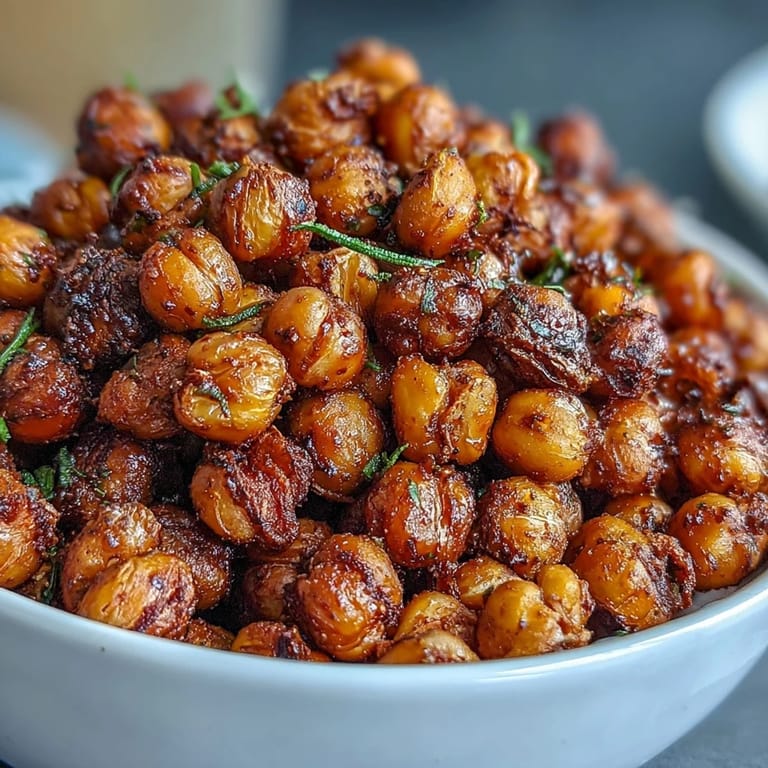
The beauty of this technique is that the base method never changes, but the spices give you endless possibilities. I've done a curry powder version that tastes almost Indian, swapped in za'atar for something earthier and more herbaceous, and even tried a simple Italian herb blend with oregano and thyme. Each version feels entirely different, which means you can make this snack every week without getting bored of it.
Storage and Keeping Them Fresh
Once they cool completely, transfer them to an airtight container and they'll stay crispy at room temperature for about three days, though honestly they rarely last that long in my house. If they ever do soften up, pop them back in a warm oven for five minutes and they'll regain that satisfying crunch. The first day is always the best though, so make them when you're actually going to eat them rather than days in advance.
Smart Ways to Use Them Beyond Snacking
While these are perfect straight from the container, they also work beautifully as a textural element in grain bowls, scattered over salads where they add crunch and protein, or even crushed up and sprinkled over soup for an unexpected topping. I've also found that tossing them into a creamy salad immediately before serving keeps them from getting soggy. Think of them as a versatile ingredient rather than just a standalone snack.
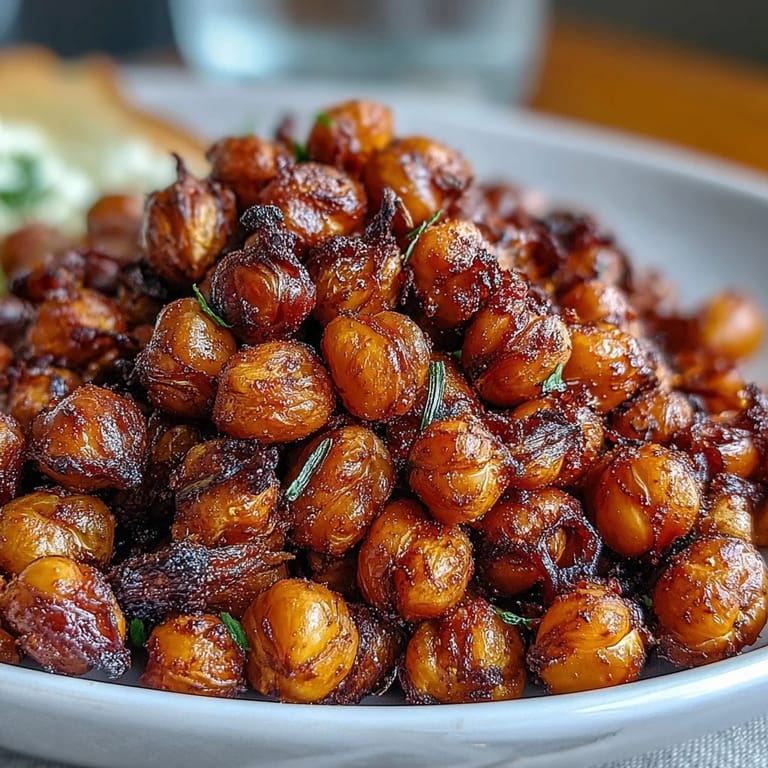
- Toss them over hummus or tzatziki for an elevated appetizer that feels fancy despite being effortless.
- Sprinkle over roasted vegetables or a mixed green salad to add both crunch and protein in one go.
- Keep a batch in your desk drawer for when you need something satisfying that isn't another granola bar.
 Save to Pinterest
 This snack has become my answer to the question of what to make when I want something that tastes intentional but requires almost no actual effort. It's the kind of thing that feels like a small victory every single time.
Recipe FAQs
- → How do I get chickpeas really crispy?
Pat them thoroughly dry with paper towels after rinsing. Removing surface moisture before roasting is essential—any remaining water creates steam instead of crispiness. For extra crunch, remove the thin skins before baking, though this step is optional.
- → Can I use dried chickpeas instead of canned?
Yes. Cook dried chickpeas until tender, then drain and pat completely dry before proceeding. The roasting time remains the same, though starting with perfectly cooked, well-drained chickpeas yields the crispiest results.
- → How should I store these for lasting crunch?
Let cool completely before storing. Place in an airtight container at room temperature for up to 3 days. Avoid refrigeration, which introduces moisture and compromises texture. If they soften slightly, a brief re-crisp in a warm oven restores crunch.
- → What spice variations work well?
Curry powder adds warmth, chili powder brings heat, za'atar offers herbaceous tang, and Italian herbs provide classic flavor. Keep base quantities similar—about 2 teaspoons total spices per can of chickpeas, adjusting salt accordingly.
- → What's the best serving temperature?
Warm from the oven delivers maximum aroma and crunch, but room temperature works beautifully too. The chickpeas continue crisping during cooling, so waiting 10 minutes before eating ensures optimal texture. They're satisfying at any temperature.
- → Can I air fry these instead?
Absolutely. Cook at 375°F (190°C) for 12-15 minutes, shaking the basket halfway. Add oil and spices after the first 8 minutes, then continue until golden and crisp. Air frying typically reduces total time by about 10 minutes.